vagrant init centos/7
Edit the Vagrantfile and add the following line to be able to access the web server
on the guest from the host machine.
config.vm.network "forwarded_port", guest: 80, host: 8080
Then run the following commands:
vagrant up
vagrant ssh
That will land you at the prompt inside the guest operating system.
There we need to update the packages and install Apache and PHP:
sudo yum -y update
sudo yum -y install httpd
sudo yum -y install php
Then we want to start the Apache web server and also make sure that it will start automatically every time we boot the machine:
sudo systemctl start httpd.service
sudo systemctl enable httpd.service
By default CentOS has configured Apache to serve files from the /var/www/html/ directory.
We'll have to create files there and then edit them.
In order to make this more convenient we would like to allow our current user called vagrant
to be able to do that.
So we change the ownership of that directory:
sudo chown vagrant.vagran /var/www/html/
Try the web server
At this point the web server is read to serve your files. We just have not created any files yet. So let's see what happens?
From inside the Vagrant virtual Linux machine try the following:
curl http://localhost/
Or from the host machine visit http://localhost:8080
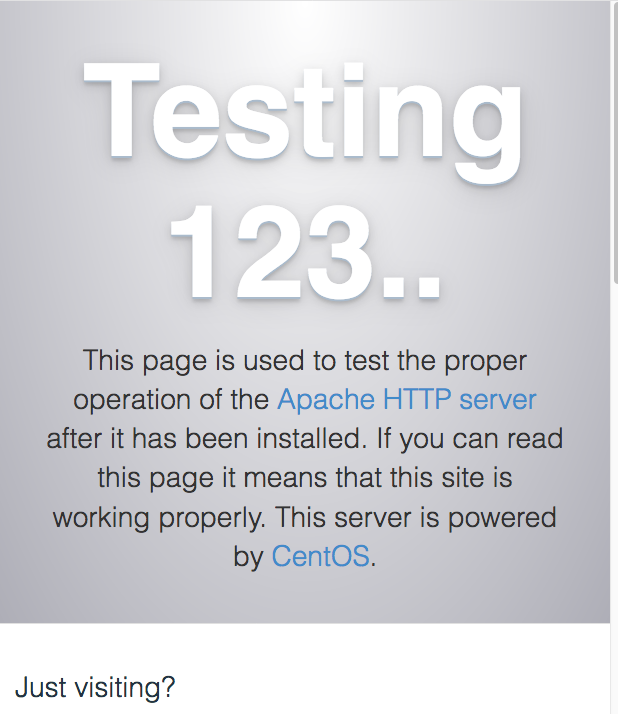
This will print the default CentOS missing file page.
If you use a real browser you will see something like this:
First HTML page
Before we try PHP, let's create a simple HTML page!
Create /var/www/html/index.html and put in it:
Hello World!
Use curl again
On the terminal inside the Vagrant VirtualBox: curl http://localhost/.
On the host machine: curl http://localhost:8080/ or visit http://localhost:8080/ with a regular browser on your desktop.
They should all display Hello World!.
First PHP page
Now we can remove /var/www/html/index.html and create /var/www/html/index.php instead with the following content:
<?php phpinfo() ?>
Then use curl or your regular browser again with the same address as earlier.
The output will be some HTML, that will look like the following image if you use a regular browser:
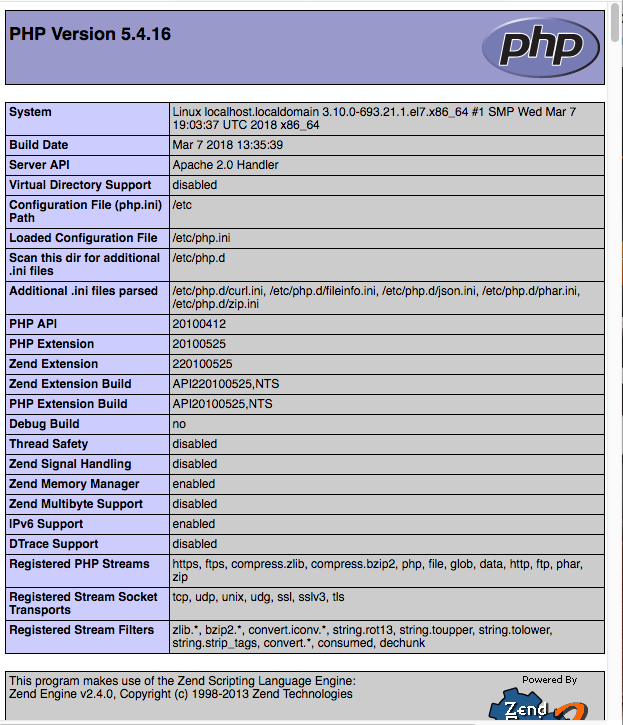
That looks quite good.
However normally you'd not want to display all this information for a random visitor, but this can be very useful to understand the environment you code runs on.
If we look at the error log of our web server using:
sudo less /var/log/httpd/error_log
Then we'll see a warning:
PHP Warning: phpinfo(): It is not safe to rely on the system's timezone settings. You are *required* to use the date.timezone setting or the date_default_timezone_set() function. In case you used any of those methods and you are still getting this warning, you most likely misspelled the timezone identifier. We selected the timezone 'UTC' for now, but please set date.timezone to select your timezone. in /var/www/html/index.php on line 1
In order to avoid this warning we can change the index.php file to contain the following:
<?php
    date_default_timezone_set('UTC');
    phpinfo();
?>
After the change we can setup a continuous monitoring on the error_log file by using:
sudo tail -f /var/log/httpd/error_log
In one terminal, while we edit the files in another terminal.
Reload the web page. The content of the page looks the same, but there is no new warning in the error_log file.
Hello World in PHP
Change the /var/www/html/index.php file again to the following content and reload the
page or rerun curl.
<?php
    echo "Hello PHP World!";
?>
The output will only contain the text Hello PHP World!.
So we managed to print some text from our PHP code.
