There are many ways to get started if you'd like to experiment with Linux. In this article I'm going to explain one using VirtualBox on top of an MS Windows or Mac OSX system. It could also be used on top of an already existing Linux installation. For experimentation it might be better to use this than the Operating System you already have on your computer.
It could also run on Solaris, but who has Solaris on their notebook or desktop computer.
This method is not the simplest, but it will make it easier to understand the system and other options (e.g. Vagrant uses this process behind the scenes.
The installation and all the setup can take 1-2 hours. Much shorter when you do it for a second time.
What is Linux, what is Ubuntu
A very quick recap: On one hand Linux officially refers to the "Linux kernel" which is the core of what makes a computer work for you. On the other hand most people use the word "Linux" to describe a "Linux Distribution" that includes 10s of thousands of programs, including the Linux kernel. A "distribution" is a package in which some team has collected much useful software: editors, games, databases, web servers, etc. along with of course the kernel.
There are many distributions; DistroWatch has a list of the "top 100". In this article we are going to use Ubuntu, one of the most popular distributions.
Our steps
-
1. Download the ISO image of [Ubuntu Server](https://www.ubuntu.com/)
1. Download, install, and configure [VirtualBox](https://www.virtualbox.org/)
Download Ubuntu Server ISO image
Visit Ubuntu Server and specifically the Ubuntu server download page. Select the most recent one. At the time of this writing it is Ubuntu Server 17.10.1 because it was released in 2017 October. (The 1 is just a sub-release number, not the date.)
An ISO image is a single file that looks like a CD-rom from the inside. They can be burned on physical CDs or can be used by other software (e.g. VirtualBox) to simulate a real CD.
We'll use the downloaded file in a minute. While we are waiting for it to download, let's do something else:
VirtualBox
VirtualBox is an application that can run on MS Windows, Mac OSX, or Linux to create Virtual computers. From the inside a virtual computer looks like any other computer. It will have some memory, CPUs, disk(s), a CD player, a video card with some memory, and one or more network cards. Whatever you decide. The Operating System installed in it, which we'll refer to as the guest, won't really know it is not running on real hardware.
From the point of view of your operating system, the one that you already have on your computer (Most likely some version of MS Windowsor Mac OSX) it is just a directory with a few files in it.
When your guest operating system is running it is allocated a certain amount of memory, CPU, etc. just like any other application on your system. If you turn off your guest operating system, then all that is freed up and it will only take up space on your hard-disk.
You can remove those files any time, but then you will lose your installation.
Download and Install VirtualBox
Visit VirtualBox and click on the big blue button to get to the Virtualbox download page. Select the latest version (for me it was VirtualBox 5.2.8) for your host Operating System. So probably Windows or OSX.
It will download an exe file on Windows or dmg file on OSX. Once the download ends, run these programs and agree to everything you usually agree to when you install a program. It is the standard Windows and OSX installation process. Nothing fancy.
Configure VirtualBox
A small warning: the different versions of VirtualBox have slightly different UIs. Mac OSX and MS Windows versions also differ from each other. The screenshots you see here are from Mac OSX. Most of the screenshots were taken by Yonit Gruber-Hazani for our DevOps Workshops. In your version they might look slightly different.
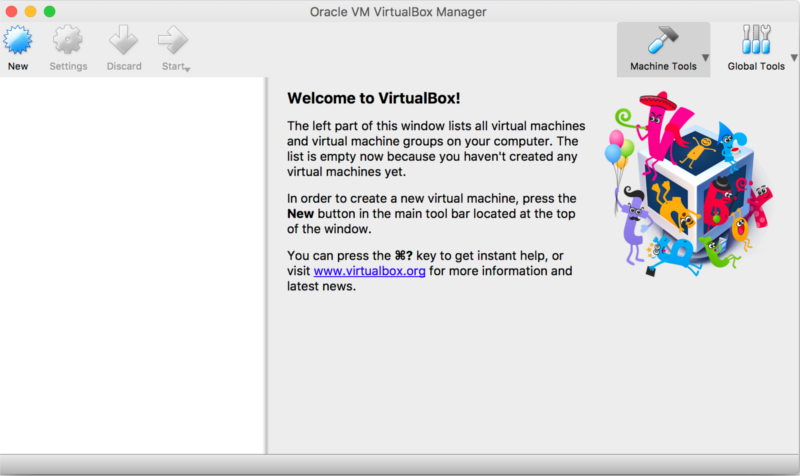
Open VirtualBox - Press the "new" button on the left
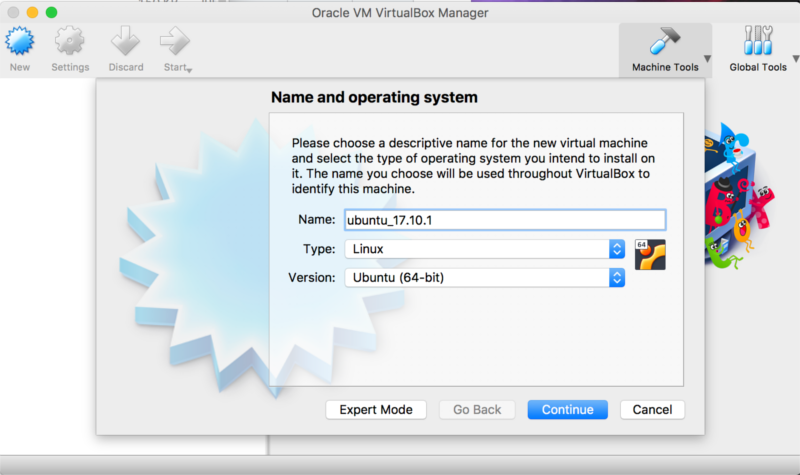
Type in any name
If the name starts with "ubu" it will setup the type to Linux and the version to Ubuntu 64-bit automatically.
If you go with a totally different name (e.g. foobar), then you can select the Type and Version yourself.
Click on Continue.
Continue the setup with the values VirtualBox is suggesting for you.
You should not worry about the exact values. Most of these can be changed later on and it is for your experimentation anyway. So in the worst case you go over the installation again and learn it even better.
Remember that what your guest operating system will see as a "hard disk" is a single file on your host operating system.
- Memory size: 1024 Mb. If you are tight on memory in your computer, you can go with as low as 256 Mb.
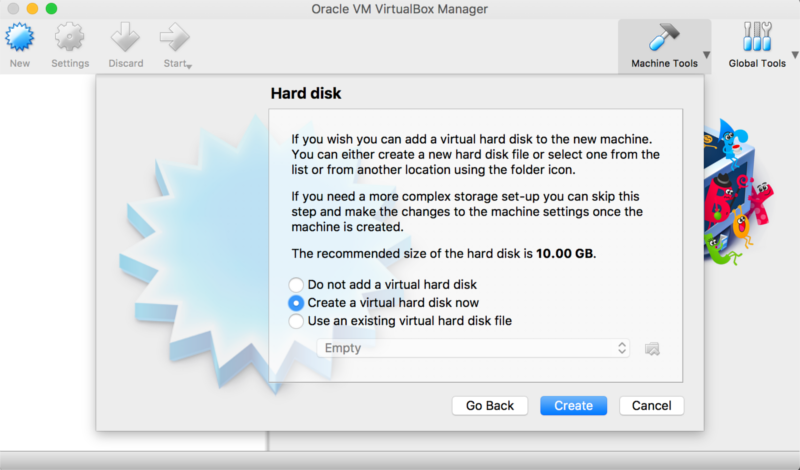
- Hard disk: Create a virtual hard disk now. Recommended size is 10 Gb. (It will not really take up that much space. See next entries.)
- Hard disk file type: VDI (VirtualBox Disk Image).
- Storage on physical hard disk: Dynamically allocated. (So the disk will grow as you need it.)
- File location and size:
ubuntuis fine. 10 Gb.
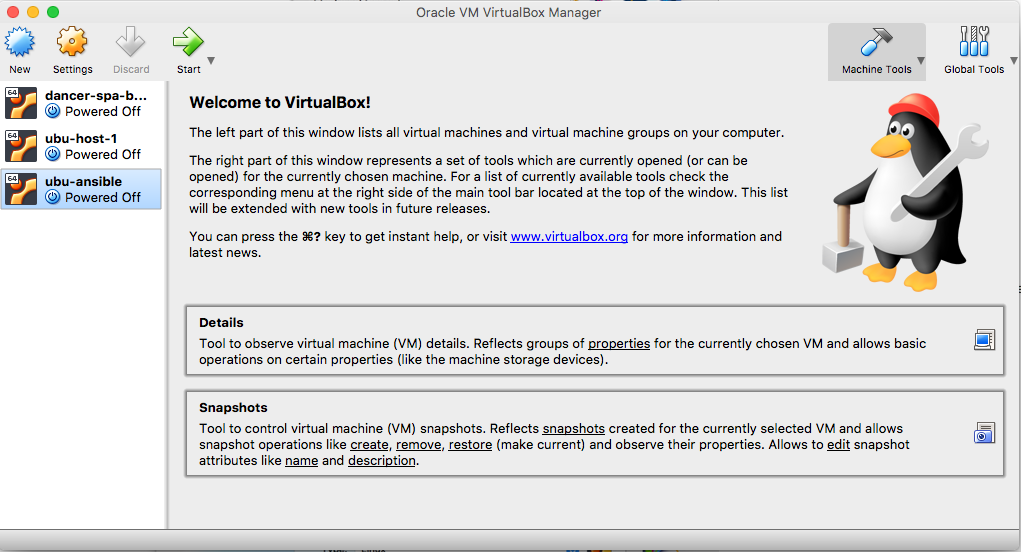
When you are done you'll be back to the opening screen of VirtualBox and you'll see your box listed on the left hand side. In this screenshot you see 3 boxes:
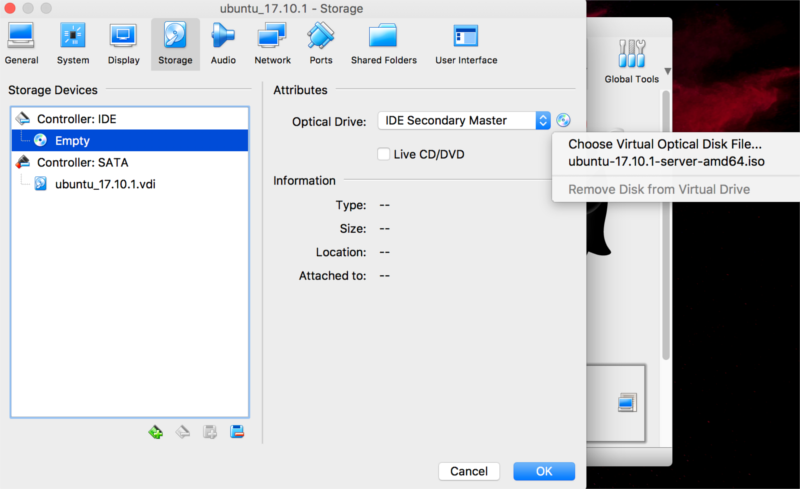
Insert the CD in the virutal CD driver of VirtualBox
You can now check the Settings of your box where you can change most of the parameters. (Don't do that just yet :).
If this was real hardware you'd have a physical CD-rom and you'd want to instert it in the CD drive to boot from it. As our machine is virtual, and as we only have an ISO image (has the download finished by now?) we do this in software. We make a small change in the configuration of our VirtualBox image to simulate a CD in the drive.
-
1. Right-click on the icon of your new server and select "Settings".
1. Select the "Storage" section.
1. Click on the "empty" CD icon and select the Ubuntu .iso file you have downloaded before.
1. Save this setup.
- Start the installation of Ubuntu - Select the defaults.
- Your preferred language: English.
- "Install Ubuntu Server".
- Select a language - English.
- Your location: "United States".
- Detect keyboard? No.
- Configure the keyboards: English (US)
- Keyboard layout: English (US)
- Type in your full name.
- Select a username for yourself.
- Type in a good password. (twice)
- Home directory encryption: No
- Timezone (it decided Asia/Jerusalem for me): Yes
- Partition disks: select "Guided - use entire disk" (no LVM)
- SCSI3 ...
- Write the changes to disks? YES!!!!
- ...
- Configure the package manager proxy (leave it empty)
- ...
- Upgrades of the system: "No automatic updates"
- Software selection: don't select anything now.
- ...
- Install the GRUB boot loader on a hard disk - YES
- ...
After you save it you can click on "Start" to launch the new Linux machine.
Install Ubuntu
Once you click on the "Start" button of your VirtualBox image, it will "turn on the computer". As with real hardware it will look for a storage device that can be booted. The first one it checks is the CD drive. (The sequence is usually configured in the BIOS of the computer.) As we "inserted" our CD in the drive the machine will find it and start to boot from it. The following will step you through the installation process.
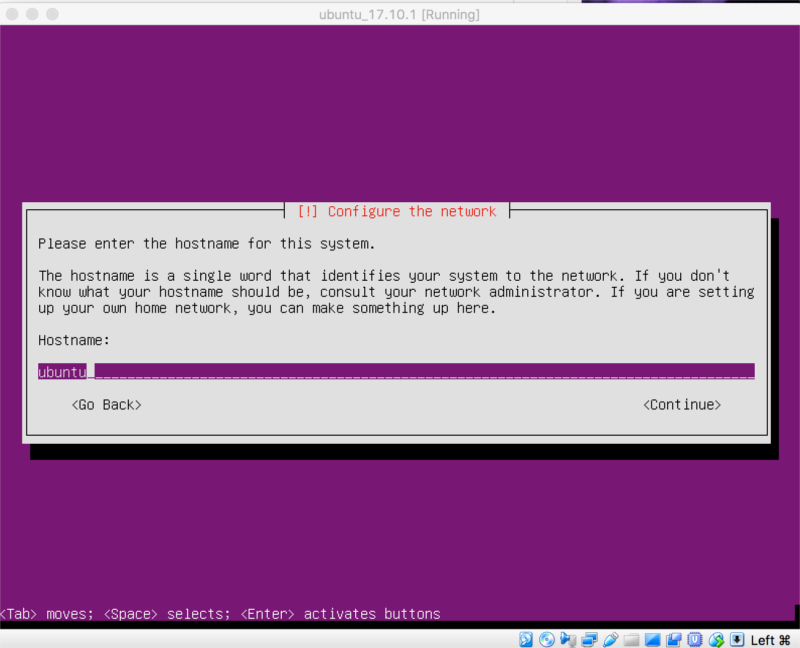
When you get to the hostname section choose whatever you like. "ubuntu" is fine for this installation.
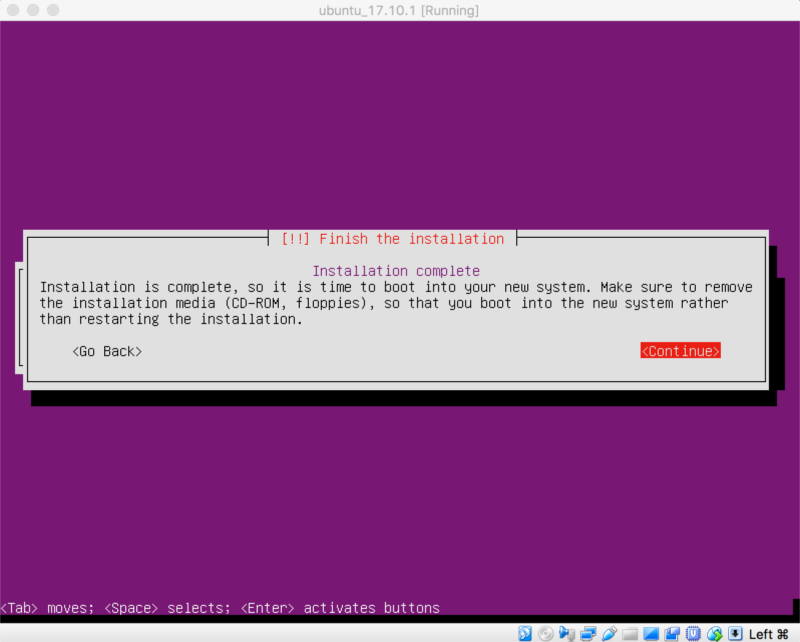
When the installation is complete, it will unmount the Ubuntu image we setup at the beginning. Continue to reboot:
Linux console login screen
When you are done installing after the reboot the host screen should look like this:
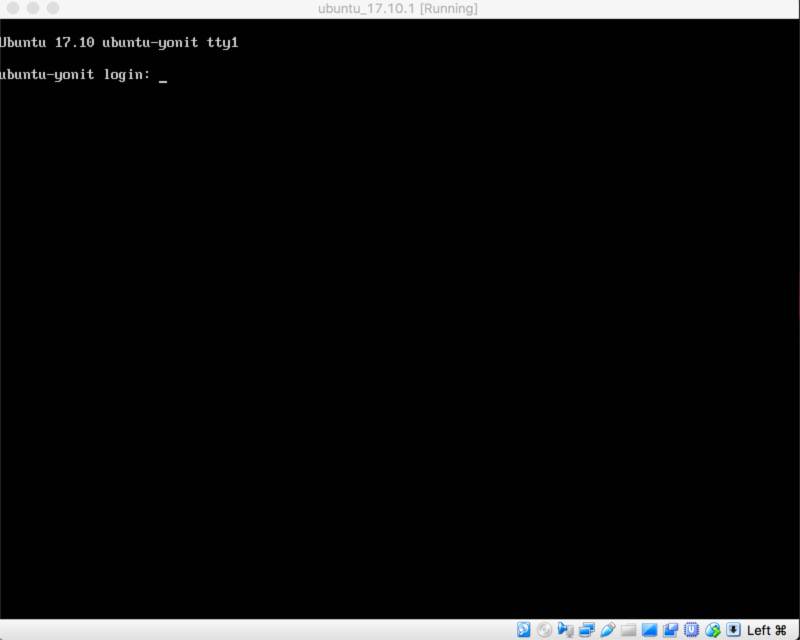
Type in your username and password. You should see a prompt now.
That's it. You have a working Ubuntu Linux server in a VirtualBox image running on your personal computer.
In the next article we'll continue with some experimentation, but if you are familiar with Linux you can already start using it.
One thing I'd mention here is how to turn off the machine.
Type in (without the '$' that just represents the prompt in our example:
$ sudo shutdown -P now
It will prompt you for your password. Once you type it in it will shut down the Linux server and then power off your VirtualBox image.
